
What is a Cinemagraph?
For the final project of my Concept Development class, I was tasked with creating a cinemagraph in Adobe Photoshop.
A Cinemagraph is a style of video where, through the use of masking a still image in Photoshop over a looping video, you create a video that appears to be a still image, but with one point of movement.
Cinemagraphs make great attention-grabbers, as their slight movement is sure to catch the eyes.

For example, the cinematography seen here for Starbucks conveys a story through limited motion. The slight movement of the fan lets the viewer know that it’s a hot summer day, a day perfect for a cold Starbucks beverage.
My Approach to Cinemagraphs
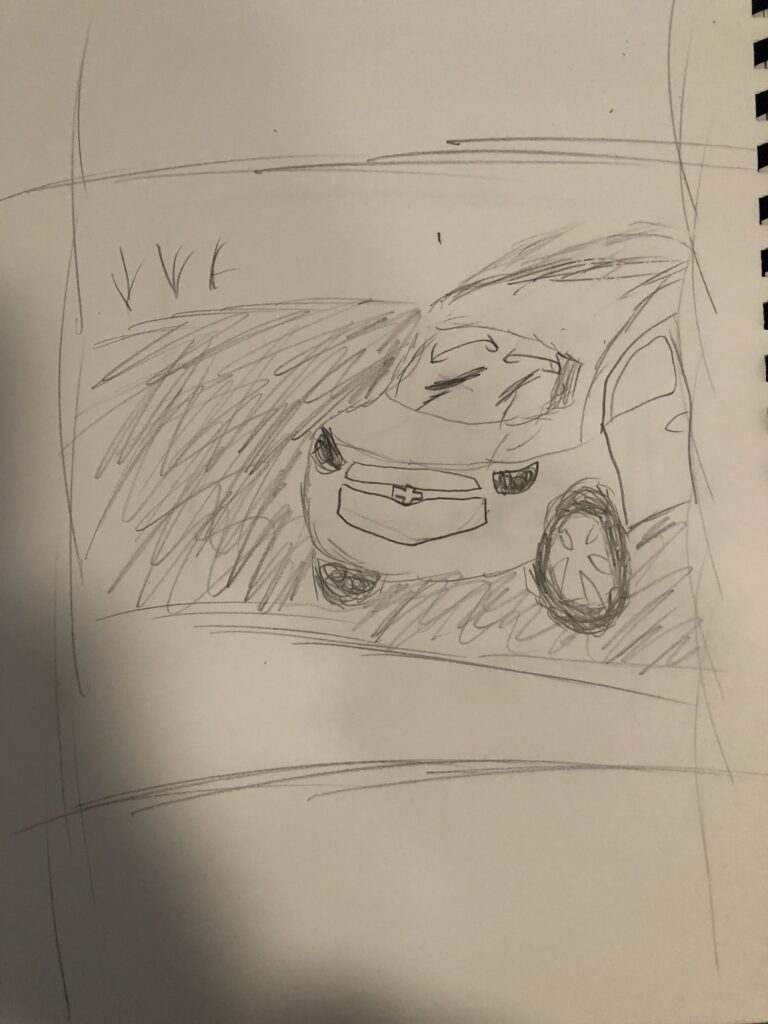
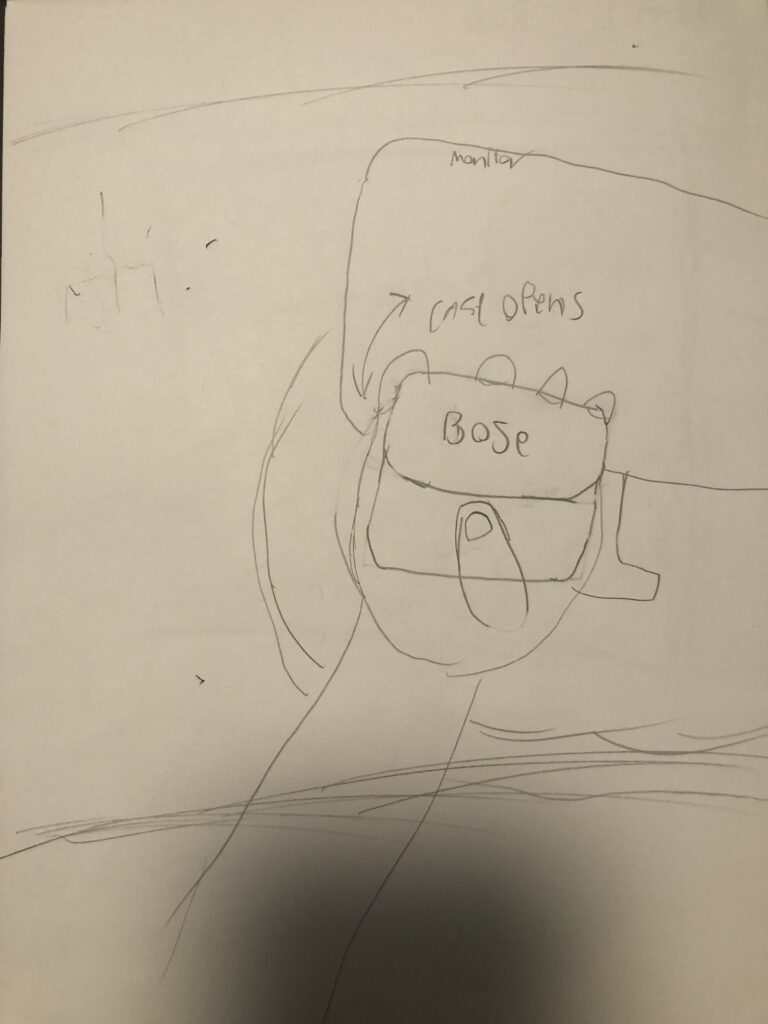
At the beginning of the assignment, I had to choose my cinemagraph’s subject. My two ideas were to either use Bose or Chevy as my brand focus.
For the project, I decided to use Bose. This decision came from the fact that I enjoy their products quite a bit, and believed that the piece would turn out nicer if I chose the earbuds as a subject.

Expected Results
Cinemagraphs tend to perform better than still images as their slight movement is enough to catch the eyes of any viewer. With my cinemagraph, I chose to make the cinemagraph’s movement be the opening and closing of the earbuds’ charging case.
Organization of the Project
Given the number of ideas that were being passed around for this assignment, using a program like Miro to help organize thoughts and information, like what I’d need for production and even the format of this case study, was critical. I also used Miro with my classmates to help critique each other’s ideas, which helped me decide which idea from earlier I wanted to use for my project.


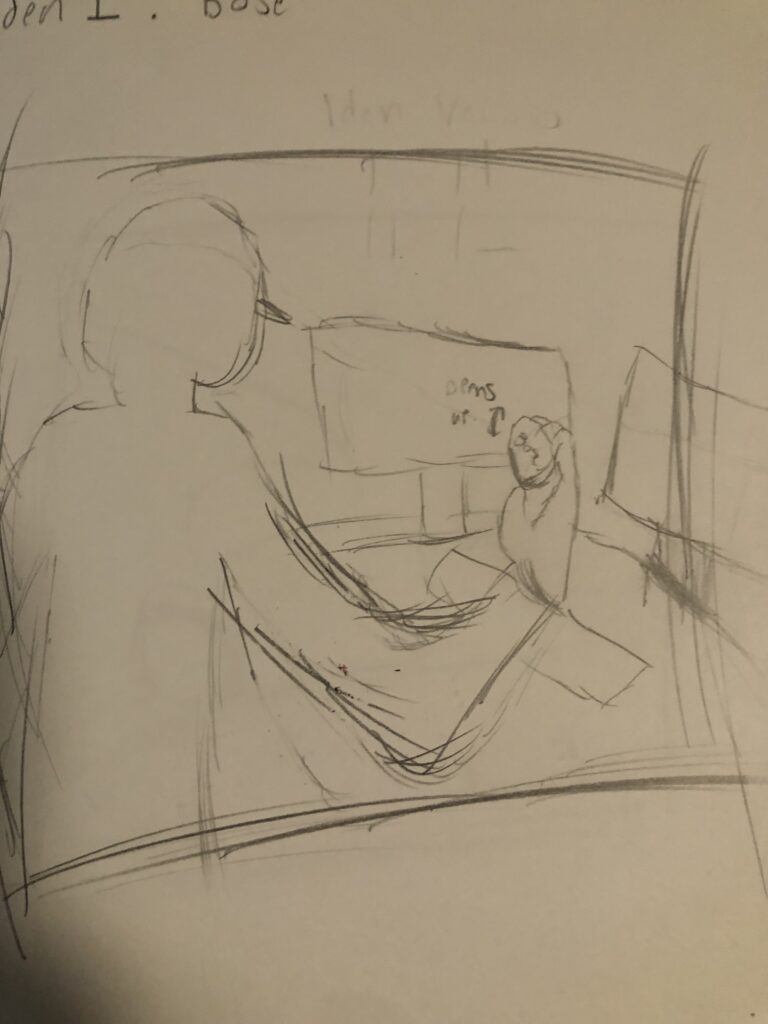
Sketching the Scene
Throughout the physical sketching process of the design, there weren’t many changes made. The subject and general angle of the piece stayed consistent, however, I decided to tighten the space between the camera and the shoulder of the actor holding the earbuds, so that they didn’t distract from the piece.
Recording the Initial Video
Initially, my cinemagraph was going to be recorded and starred by myself, but I found that recording yourself is a lot easier said than done. When I managed to get others to record, the recording process was simple, as I was able to get the camera to focus on the earbuds while someone else was holding it, then record and insert myself into the background. Originally, I was aiming to record in an office-like setting, but I ended up enjoying the lounge area and fell in love with it as a backdrop.
Editing in Adobe Photoshop
After recording, I was able to bring the video into Photoshop. From there, I was able to use the program’s timeline tool to add a looping animation, which in combination with a layer mask creates an interesting loop located on a singular object.
The Final Product
If the embedded video does not load, click here!
Video Case Study
Along with this website case study, I also created a Video Case Study in Screenflow, an Introductory video editing program. Similar to this case study, I was able to convey my creation process. The difference, however, is the inclusion of a narrator. If you’re interested in seeing a video version of my process, as well as some of my early video work, I recommend checking the video out below!